Development
Knockout City Frame Breakdown
December 15, 2023
Introduction
During the development of the Viper Engine, we've found that breakdowns of frames from other games give a really useful insight into rendering architecture. In the interest of paying forward that knowledge sharing, we're going to break down a frame from Viper and walk through some of the more interesting decisions we've made. To date, we have shipped three games with Viper: Mario Kart Live: Home Circuit, Knockout City, and Hot Wheels: Rift Rally. This breakdown is of a frame from Knockout City, but the underlying rendering technology is essentially the same between the three. Knockout City uses the largest subset of Viper's capabilities.
Viper targets a wide variety of platforms, and in turn, we use a wide variety of graphics APIs. On PC, we target Vulkan (we have a DX12 backend for PC, but it's primarily for debugging and not shipping quality). In addition, we run on proprietary APIs for various consoles (including PlayStation, Xbox, and Switch). This variation of target capability and performance strongly influences the design of our rendering systems, as we need to prioritize flexibility and scalability when building new features.
One interesting factor in Viper's design is that we bake as little data as possible. There are no texture-space lightmaps or baked shadows (we do bake reflection and GI probes). We don't really have an in-engine idea of 'static' immobile geometry or lighting. Everything is dynamic by default, which causes some interesting performance problems but greatly improves artist iteration speed.
The Frame
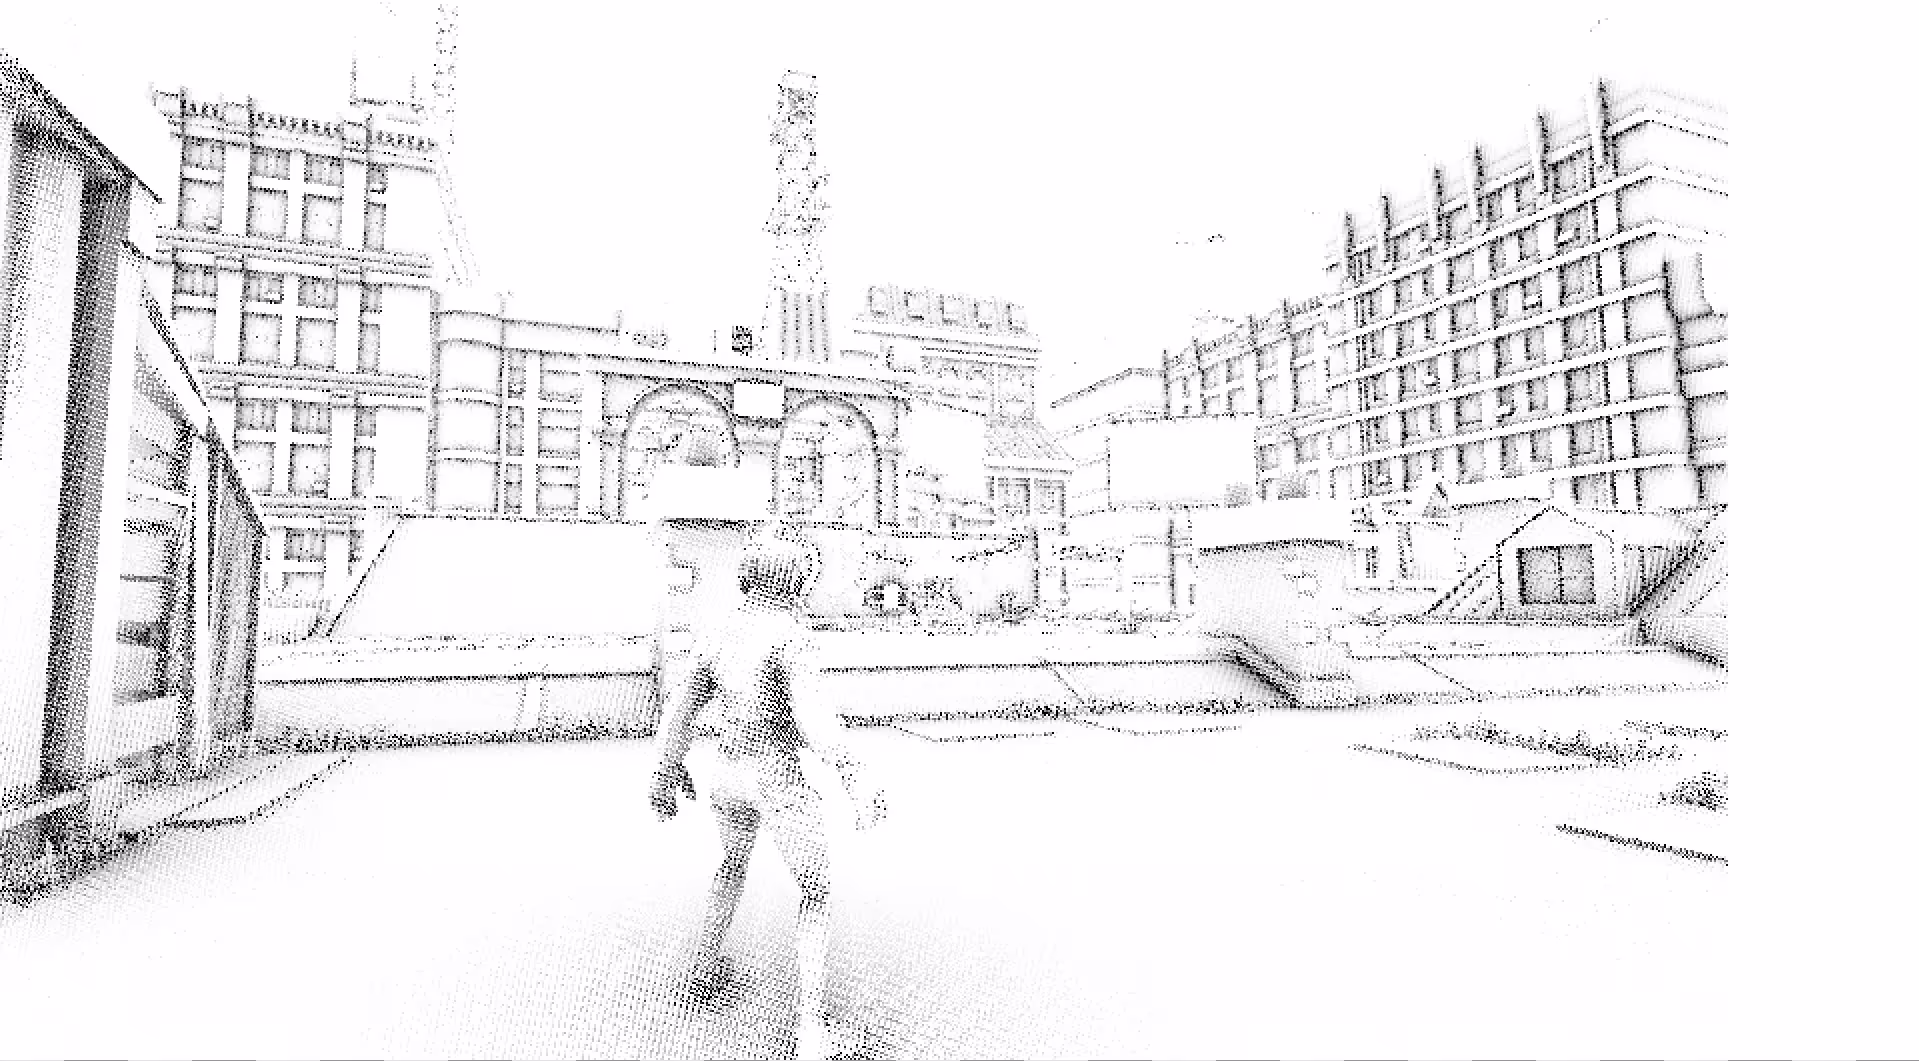
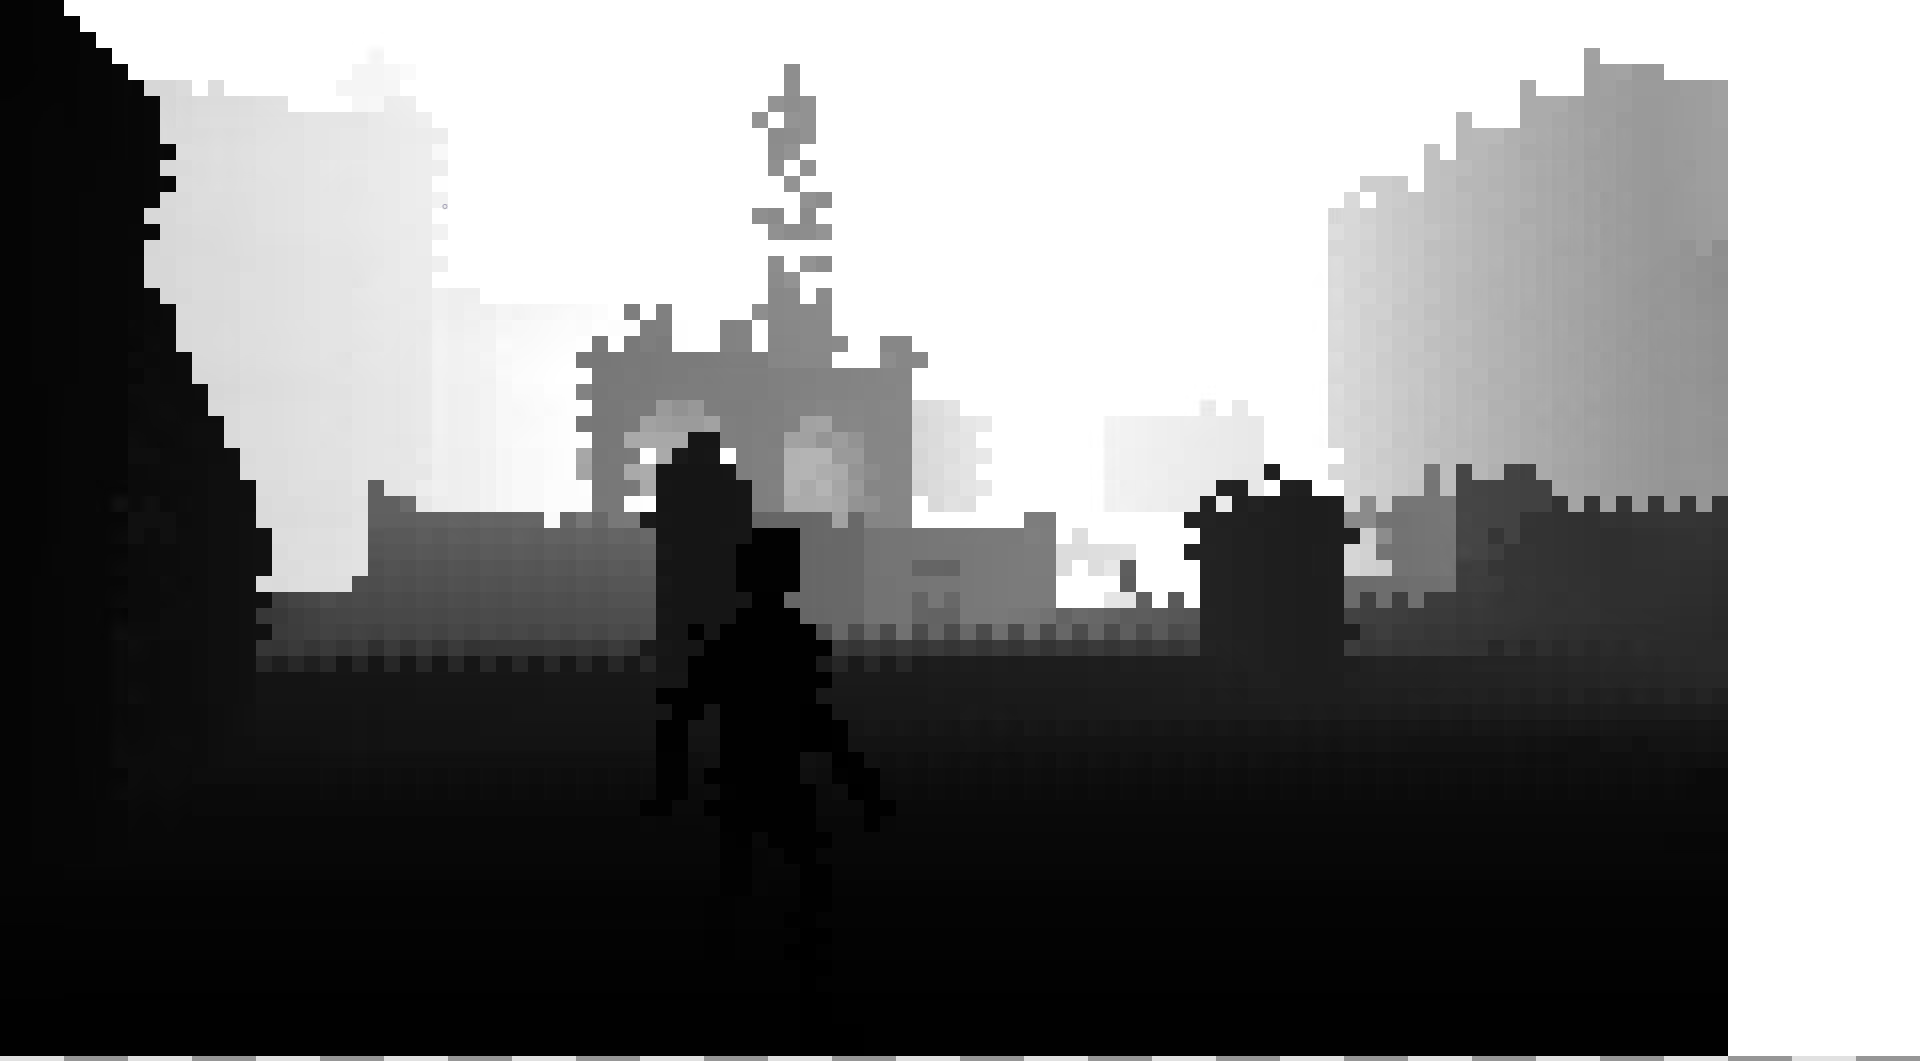
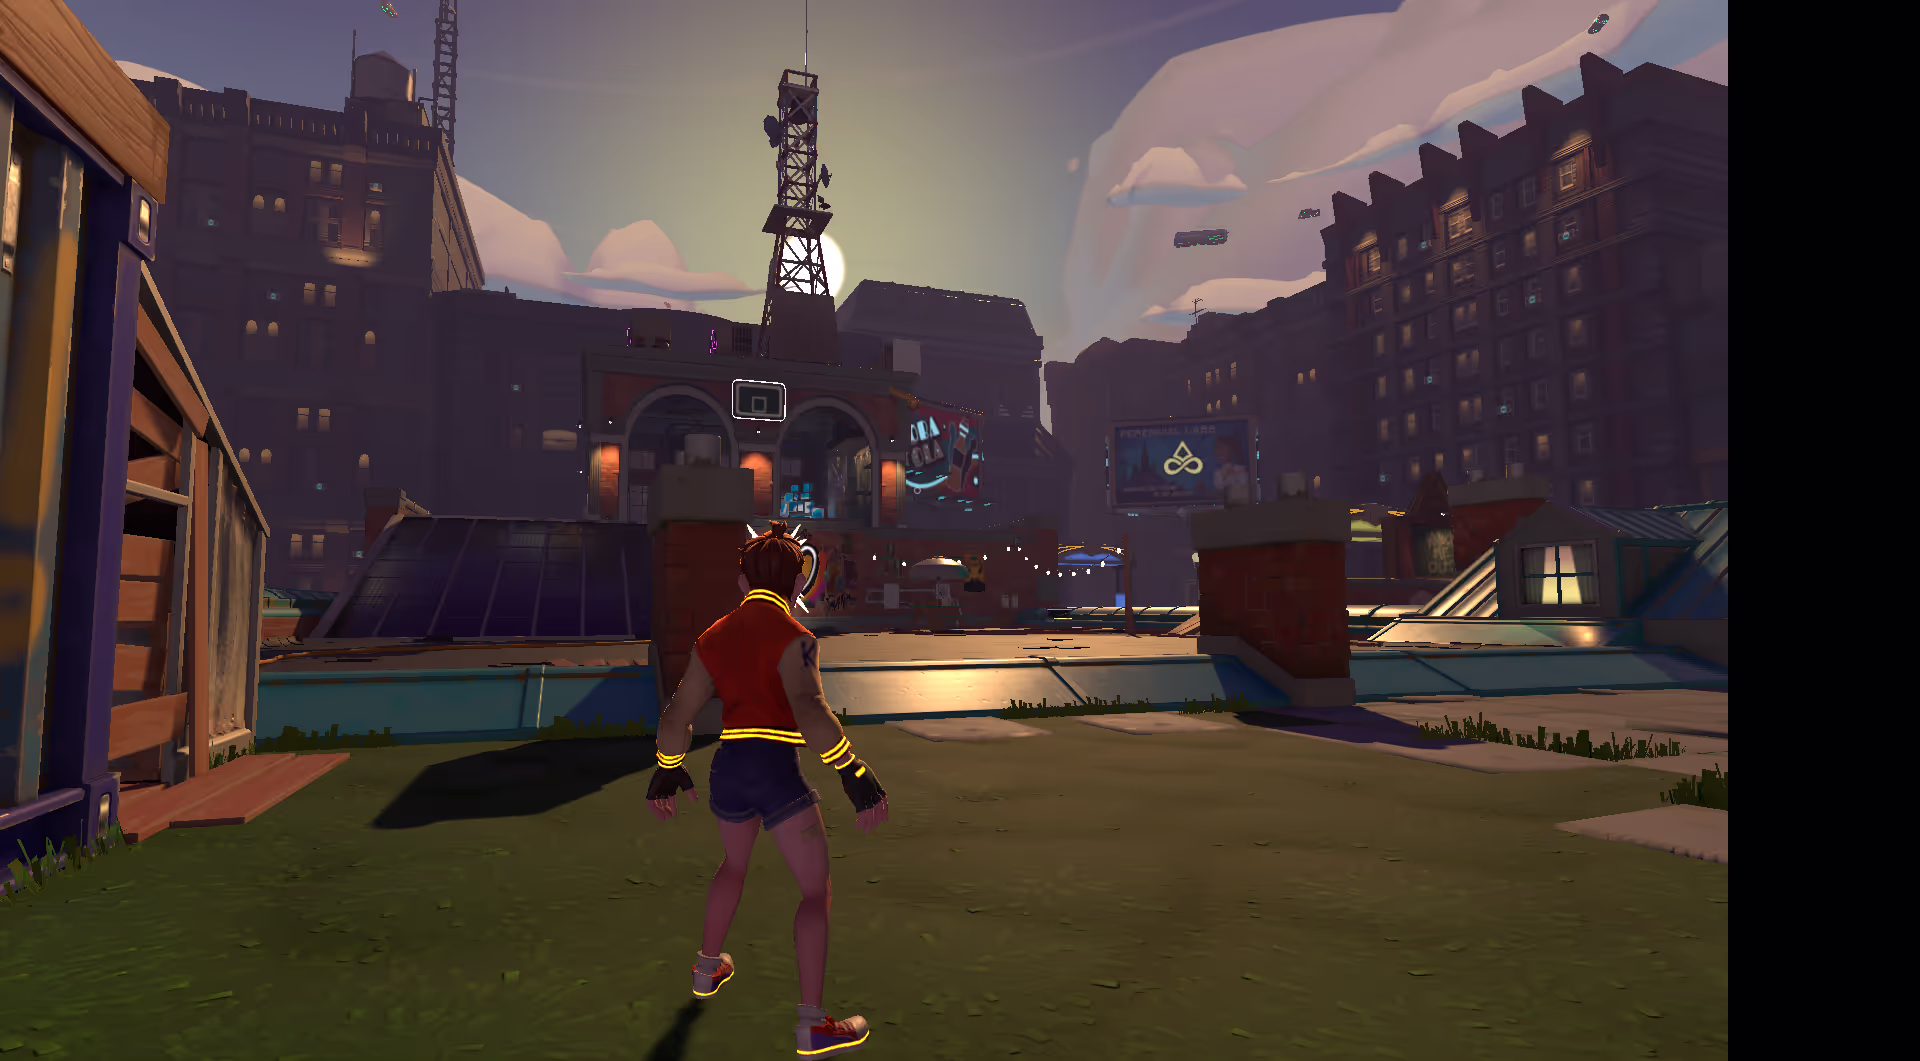
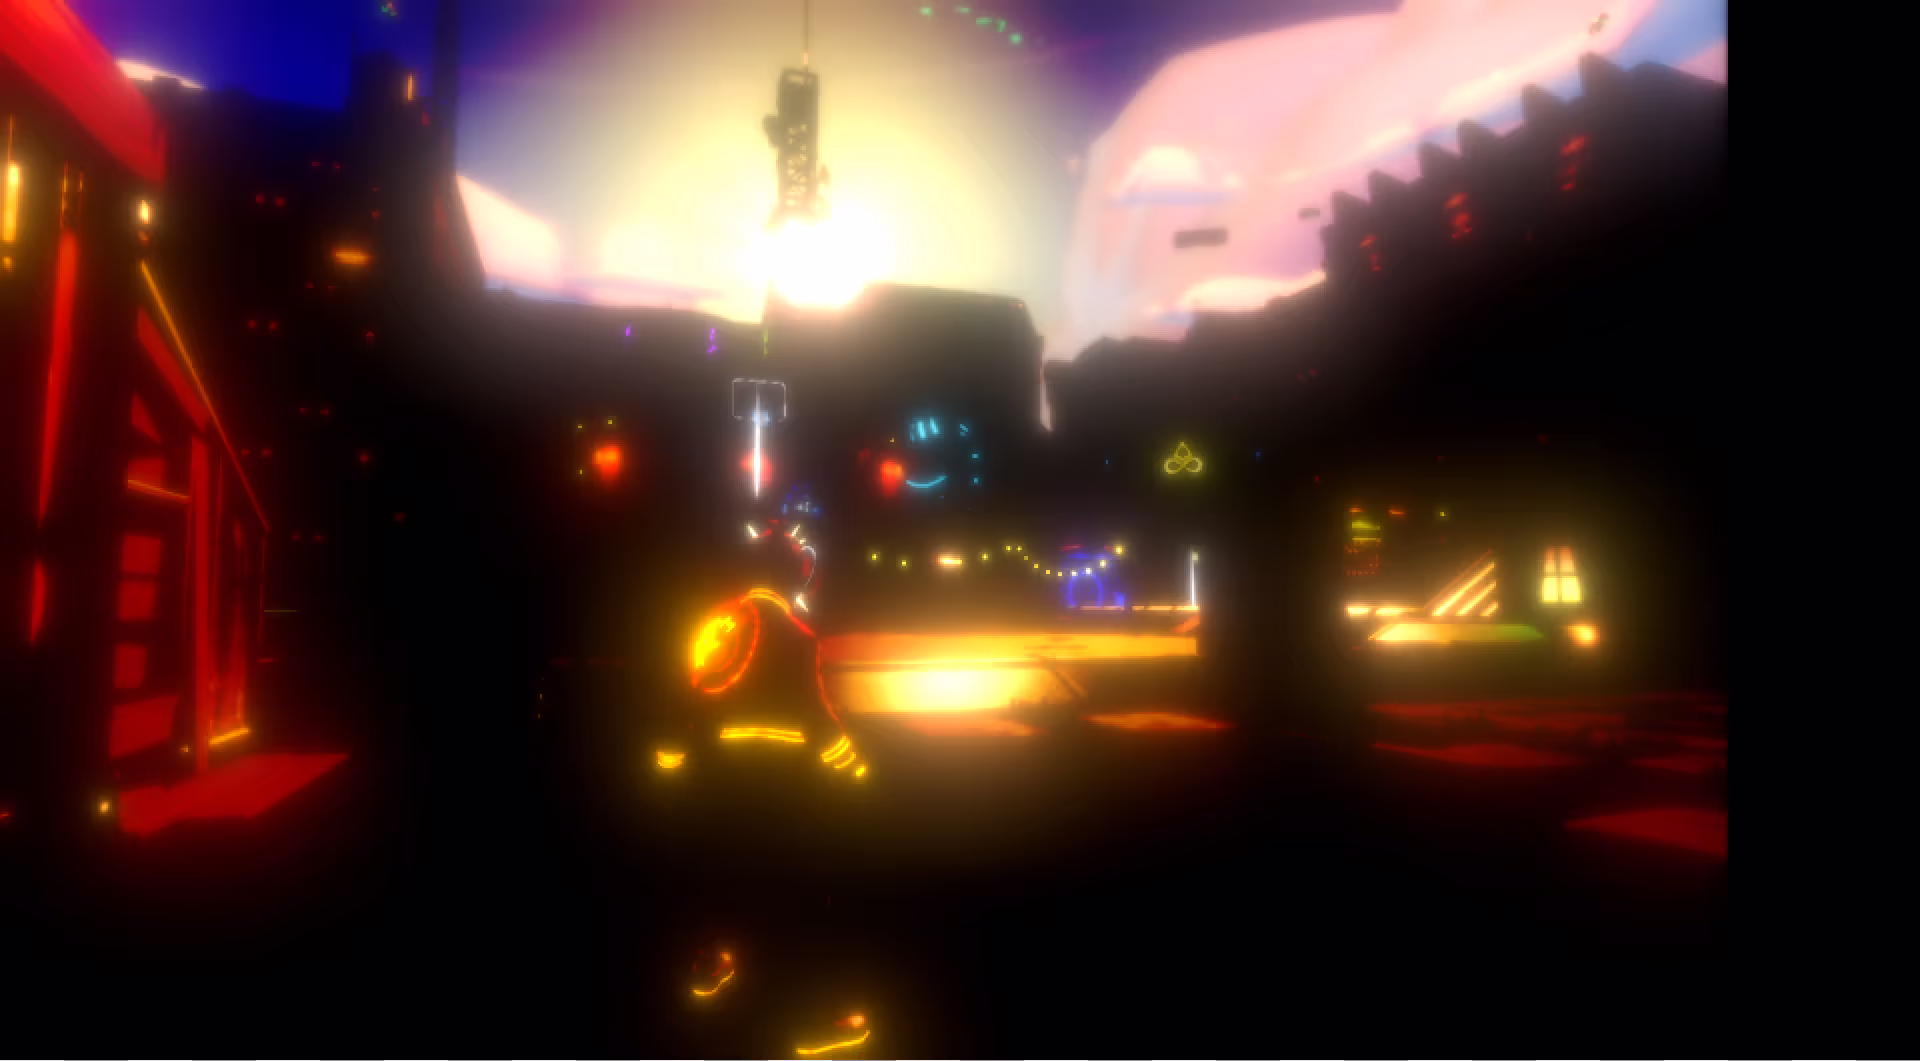
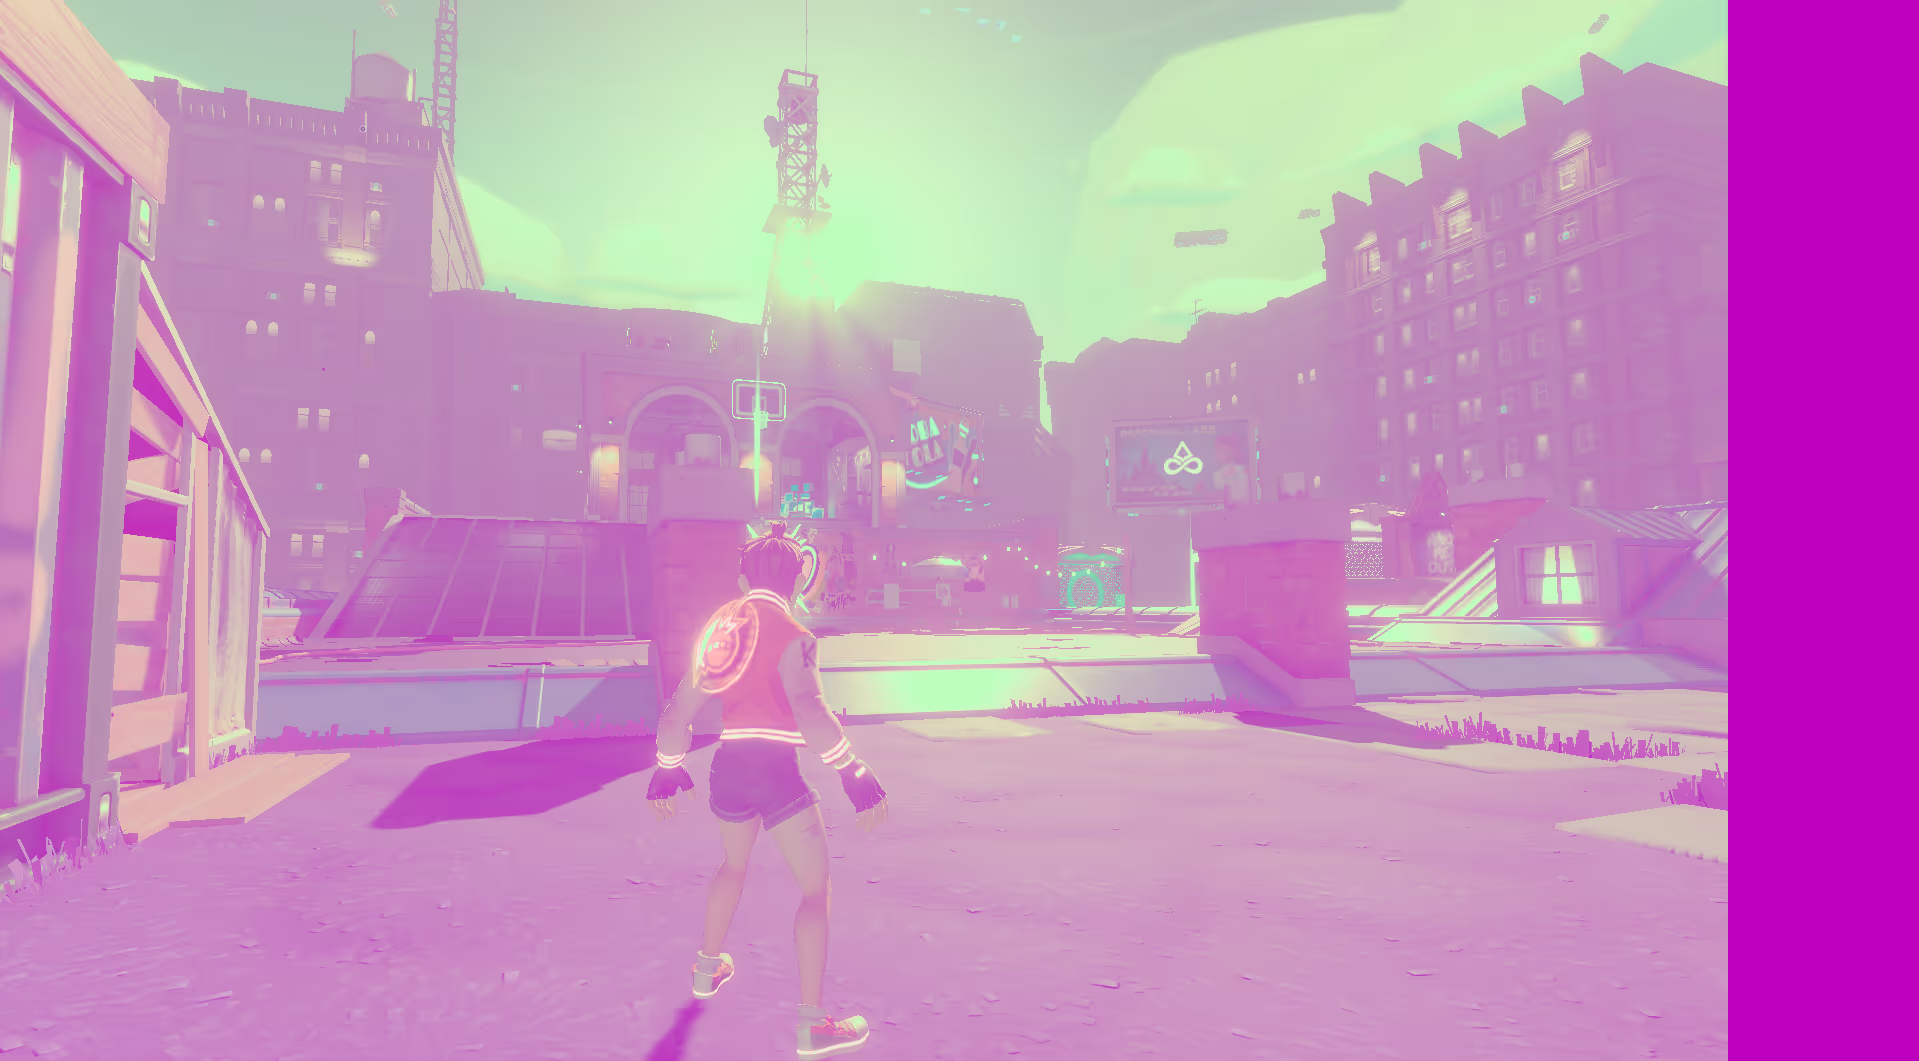
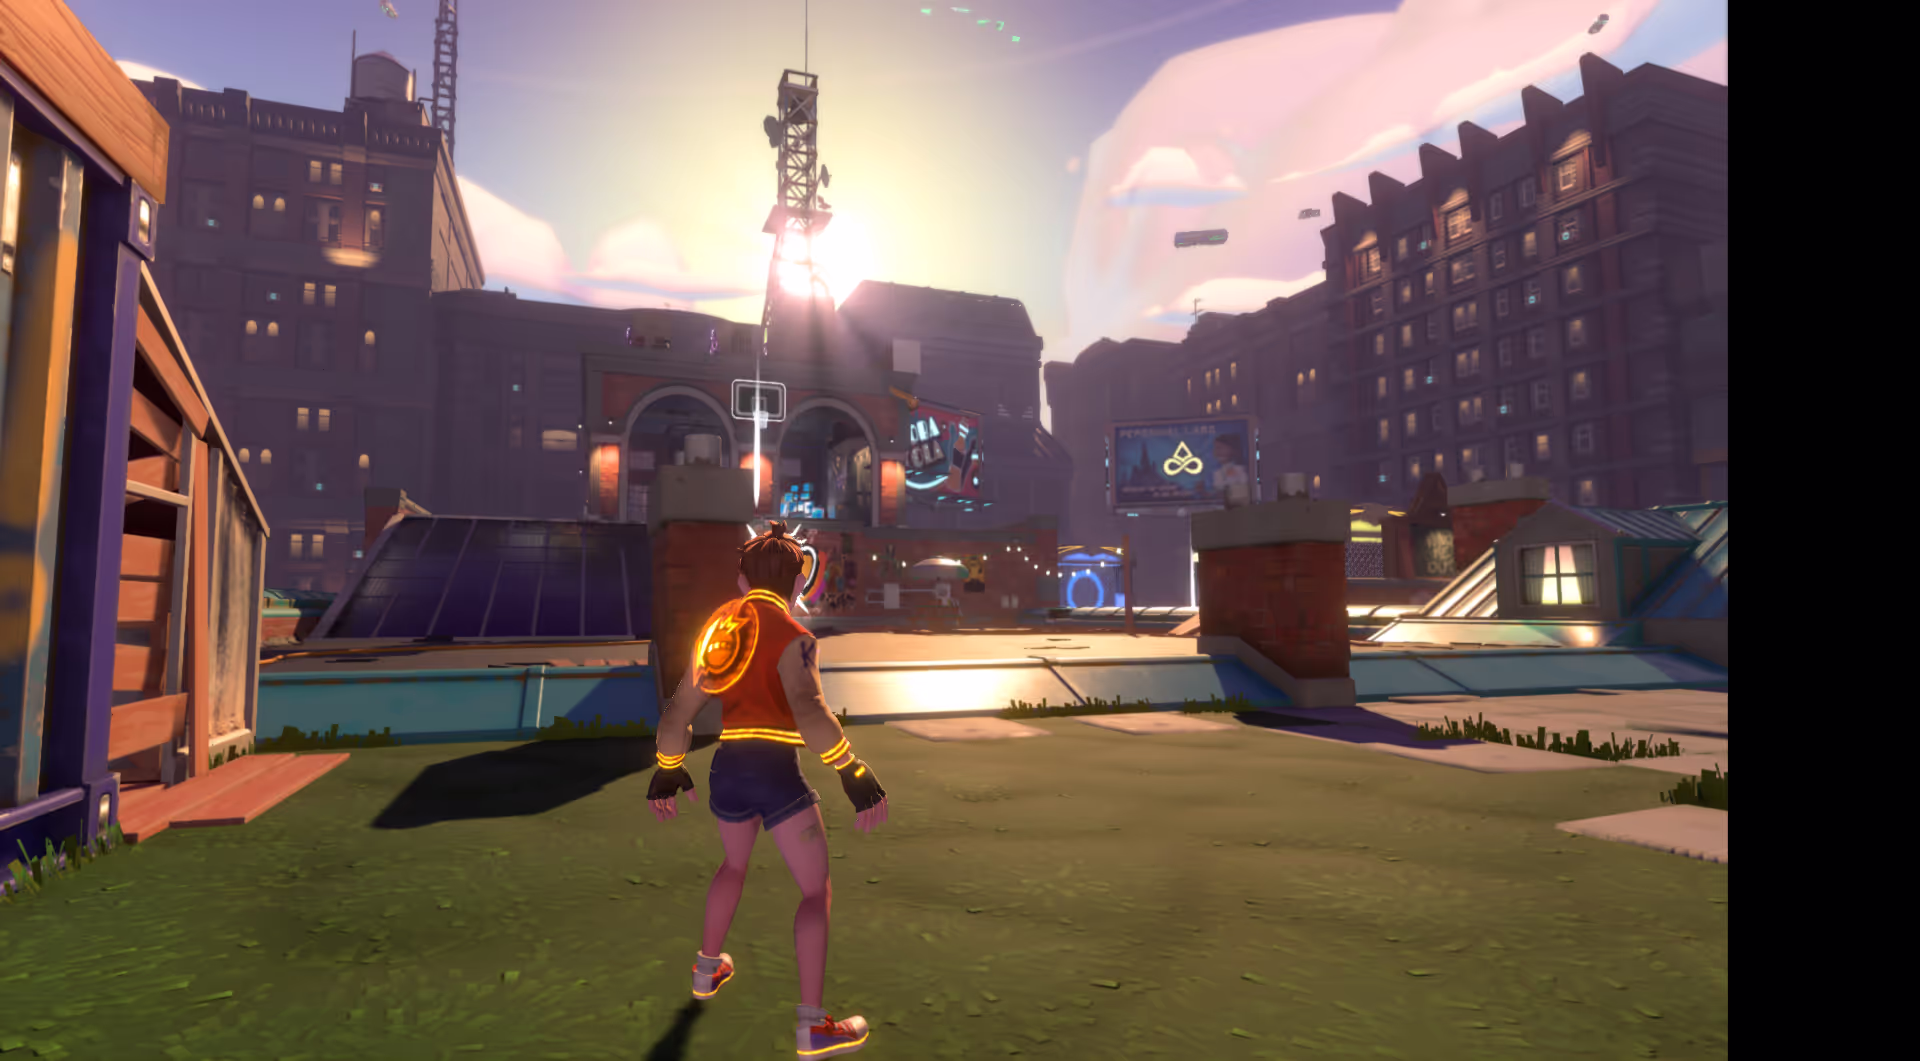
Specifically, we'll be breaking down this frame, from the Hideout in Knockout City:
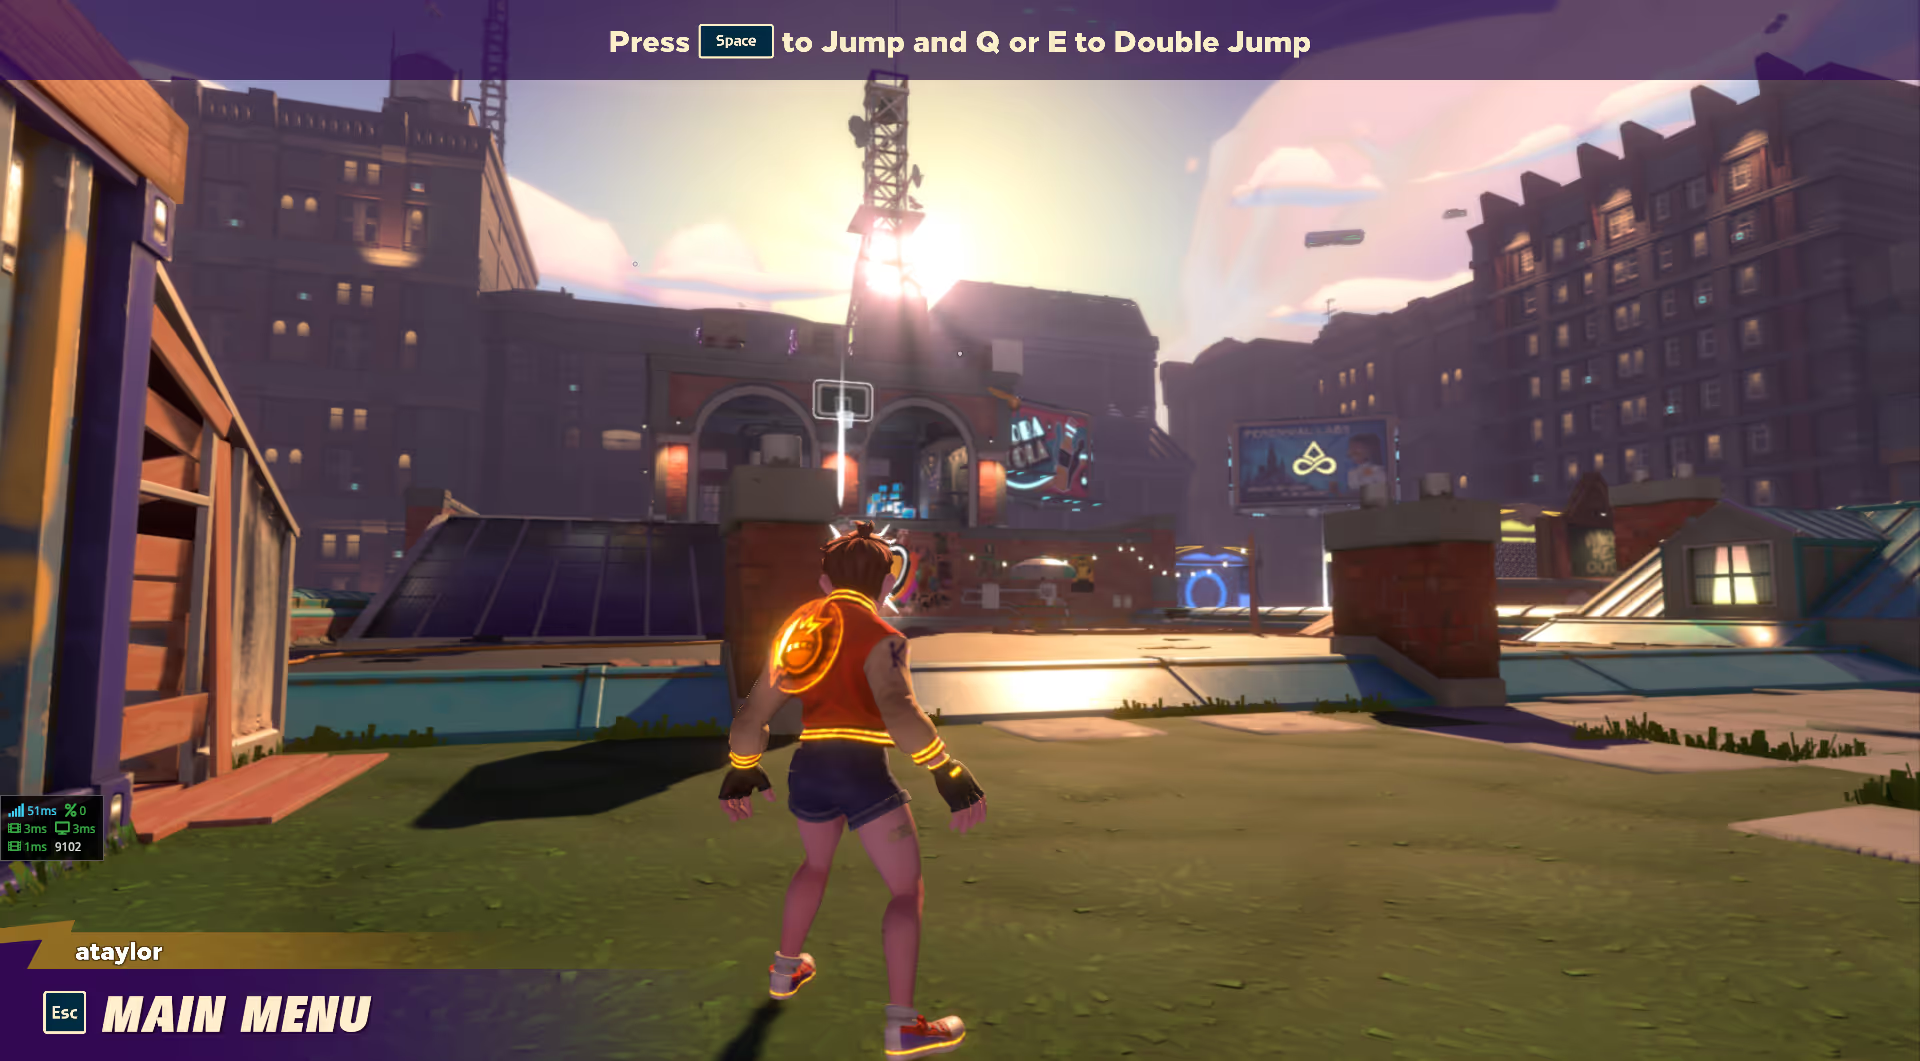
At a high level, a frame in Viper breaks down into a few distinct sections:
- Shadows
- Prepass + Depth Processing
- Main Pass (Opaque)
- Early Postprocessing
- Main Pass (Translucent)
- Postprocessing
- UI

You'll notice that many of the images here will not use the full viewport. We’ve used debug tooling to force dynamic resolution scaling on for demonstration. We lean heavily on the performance scaling that dynamic resolution provides for us, as it allows us to hit solid framerates on lower-end hardware while keeping our visual style intact. This system was retrofitted into the engine late in the project (about 6 months prior to ship). Lesson learned: design rendering systems around dynamic resolution from the get-go; it touches everything.
Shadows
Viper splits shadows into two distinct systems: sun shadows (for the sun light), and local light shadows (for point, spot, and area lights). The primary motivation for this separation was that the sun light should never have to compete with local lights for atlas space. This also provides some modularity, which makes it easy for us to turn off the local light shadows on lower-end platforms to reduce rendering cost. We're not going to go into too much detail on the local light shadow system, as we may cover it in depth in a later blog post.
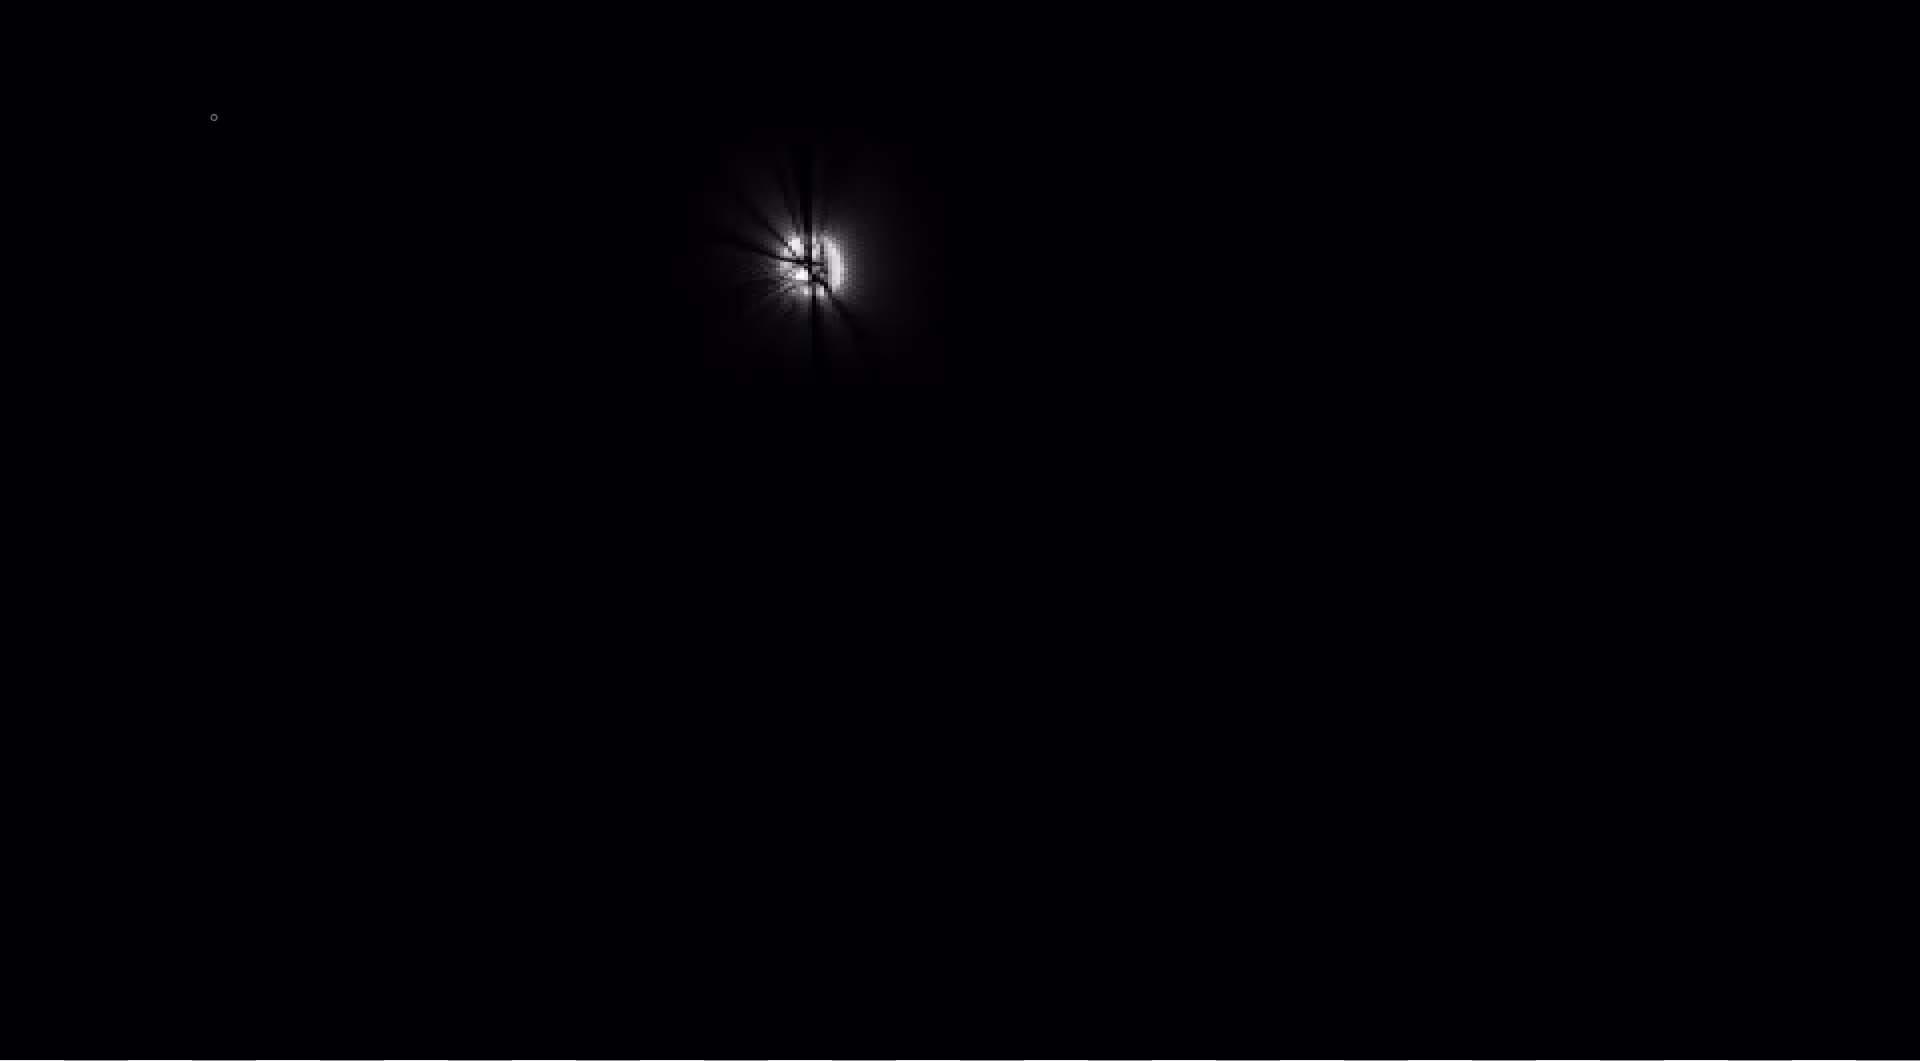
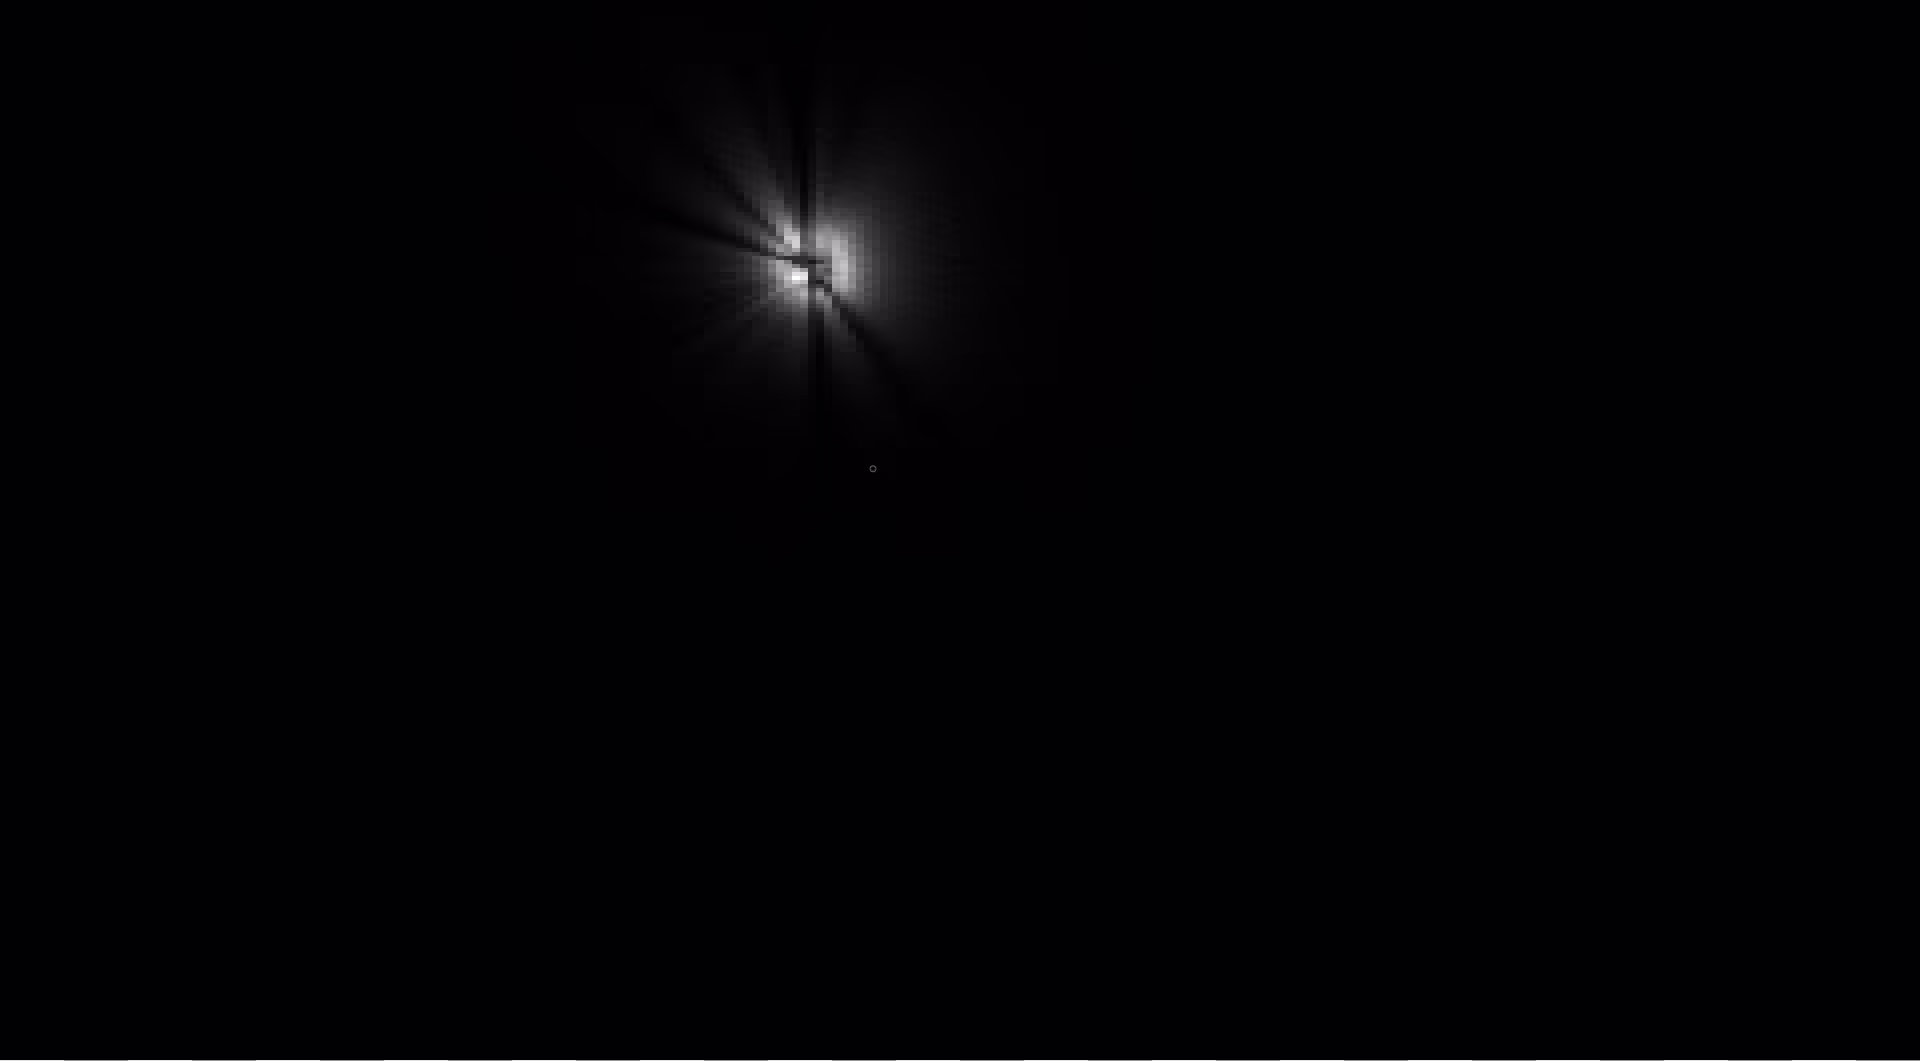
Sun shadows use a fairly standard PSSM cascade system. These render into a shared atlas texture:

One of these regions is twice the resolution of the others. This is our ‘static' shadow cascade. Again, as mentioned before, we don’t have any guarantees that the contents of this cascade are actually static. Artists place a volume in the level to encompass the entire level (including background geometry), and on level load we trigger a single shadow map render covering that entire region. We can then reduce the distance covered by our PSSM cascades to cover just the play area, and fall back to the static cascade in the distance. Because the play area tends to be significantly smaller than the full level, and dynamic shadows are less important in the background, this greatly increases the effective resolution of shadows where we actually need it.
Our shadow filtering code is relatively simple. We select a cascade by projecting the shading point into each, taking the closest cascade that we fall within. Instead of blending between cascades (which is quite expensive in terms of register count), we dither along the edges of the cascade using screenspace noise. The actual filtering uses the 9-tap Gaussian PCF filter derived by Ignacio Castaño. We experimented with several different disk kernels as well, but found the results to be underwhelming with reasonable sample counts.
Prepass
Viper is a forward renderer, which is to say that both material shading and lighting evaluation happen in a single rasterization pass. A consequence of this is that the main forward shader is extremely expensive to run, and it's worth expending some effort to avoid running it when we can. So, prior to the main pass, we render a prepass using a much simpler shader to prime the depth buffer.
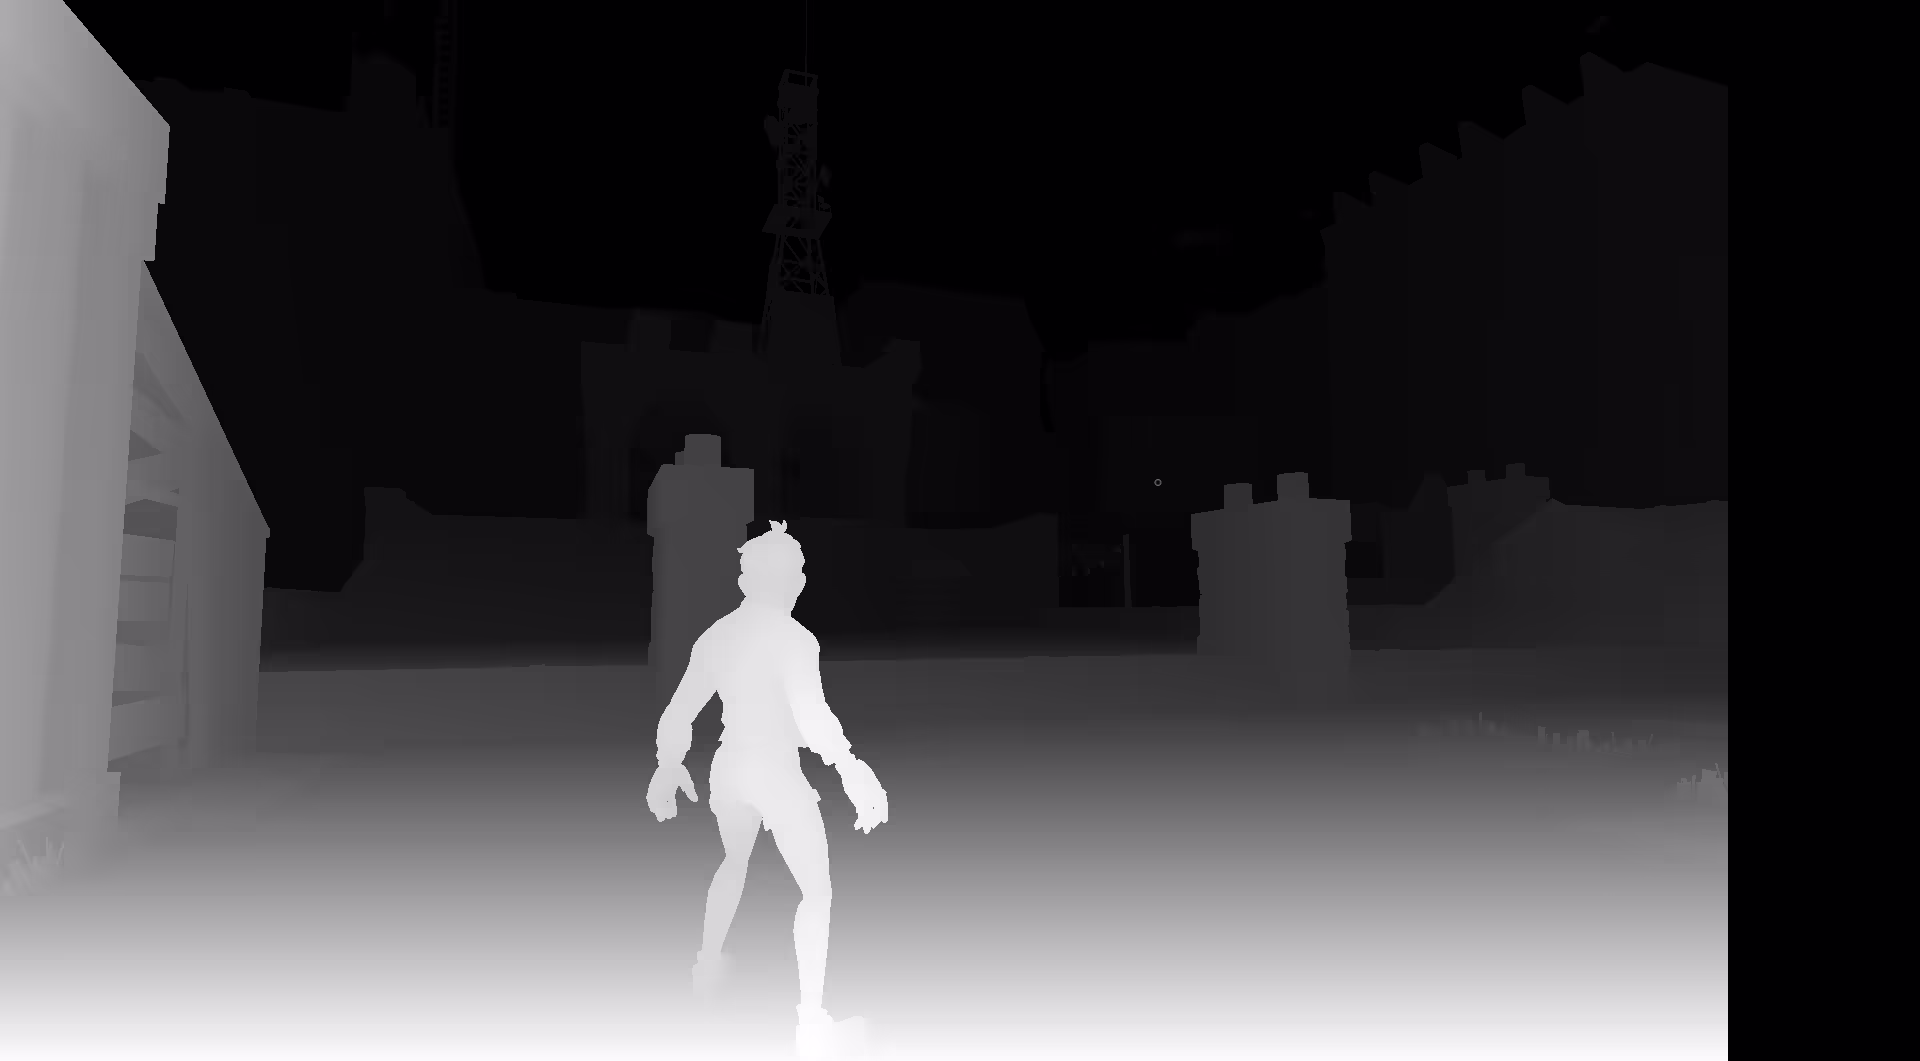
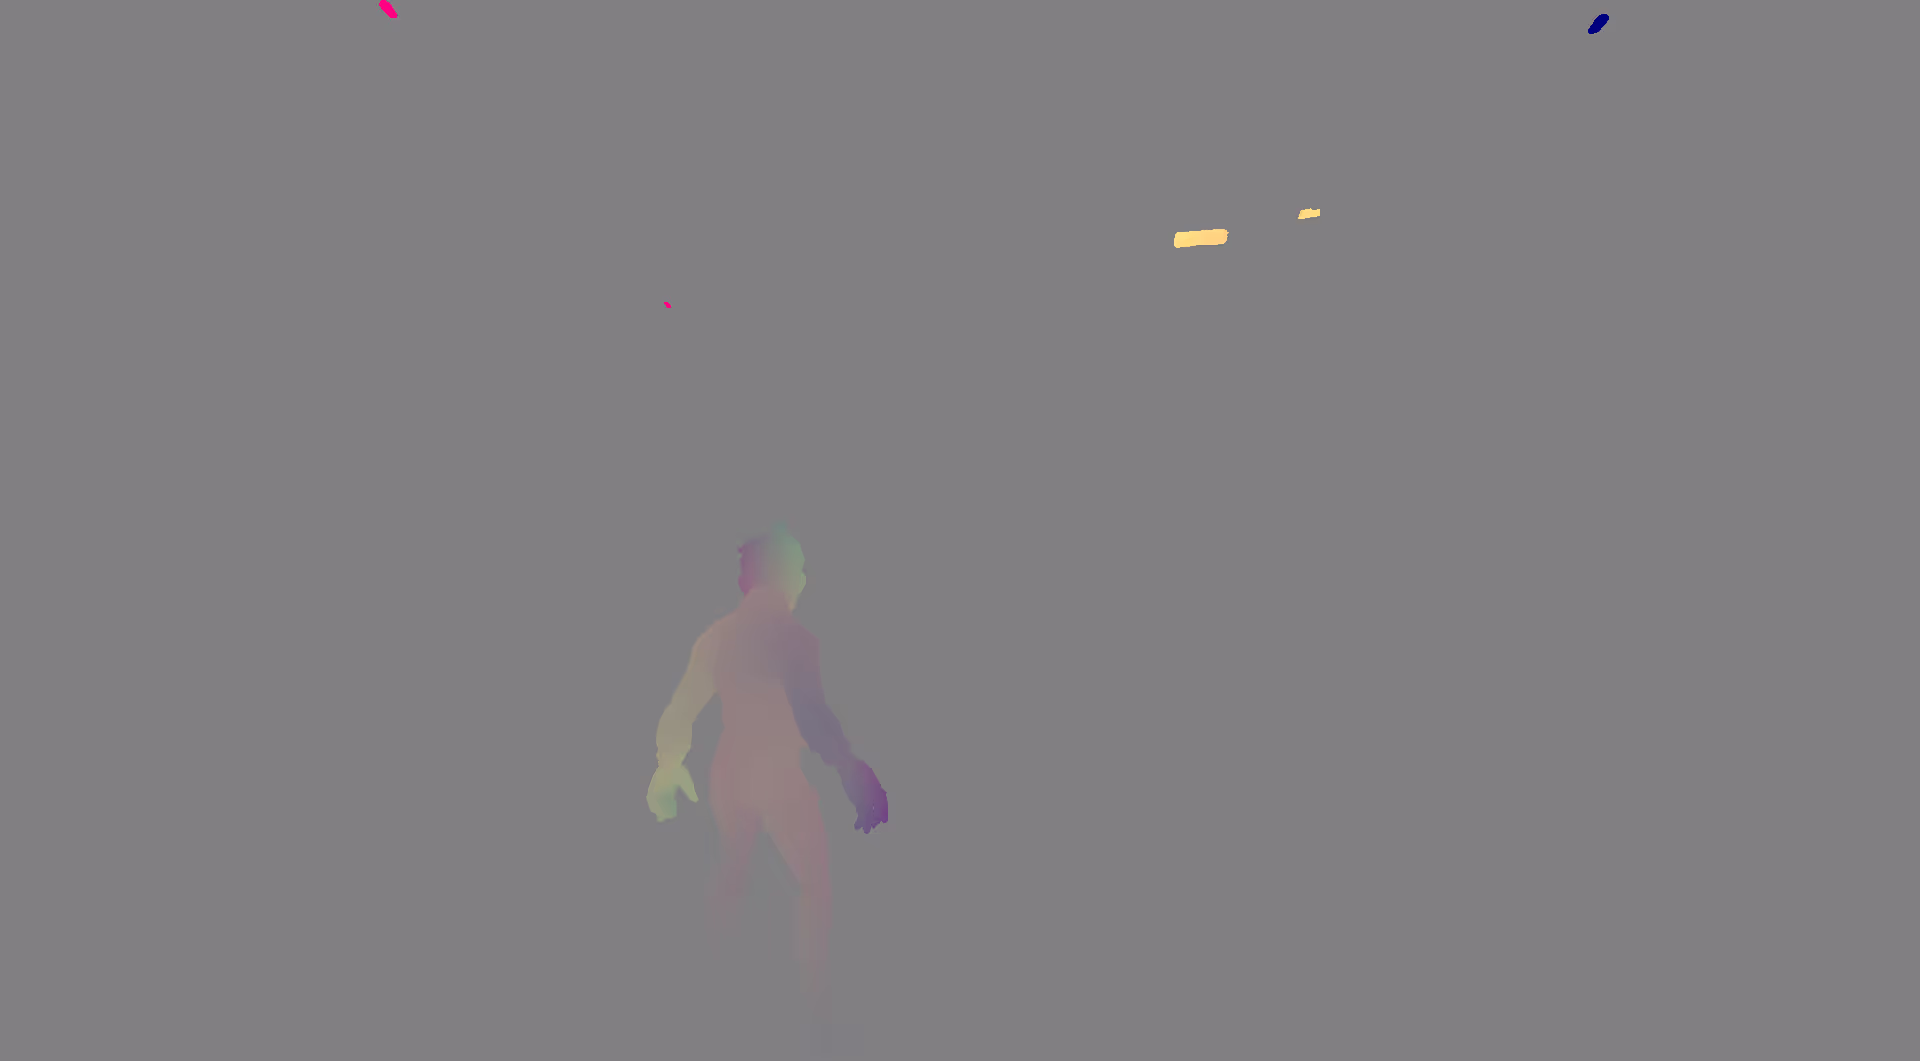
While some engines limit prepass to a handful of good occluders, in Viper all opaque objects participate in prepass. In addition, on platforms that support temporal antialiasing, this prepass generates our screenspace velocity buffer.
Because we have a complete depth prepass, we can incorporate SSAO, which is otherwise limited to deferred rendering. Our approach is based on Morgan McGuire's Scalable Ambient Obscurance. Unlike the original paper, our SSAO runs in half resolution, and is then blurred and upsampled to full resolution with a series of compute shader dispatches using a bilateral filter. Reduced resolution is a major performance win at 4K, but also amplifies temporal noise (because the 3x3 TAA neighborhood cannot easily deal with noise in 2x2 blocks). Our SSAO implementation is something we'd like to continue to iterate on and improve in the future.

The SAO technique requires constructing a mip pyramid for depth. Prior to the SSAO passes, we linearize depth and downsample into 6 mip levels, using the dithering filter McGuire mentions in the SAO paper. When we first shipped Knockout City, this downsampling was performed by a series of fragment shader passes, but has recently been rewritten as a single-pass compute shader. The single-pass approach stores intermediate data in LDS rather than reading back from the previously written mip, greatly reducing the read bandwidth and number of barriers required.


Main Pass (Opaque)
Finally, we reach the main pass, which contains the bulk of the work in a given frame. Viper uses a clustered lightgrid to optimize the evaluation of lights, decals, reflection probes, and GI volumes. This system is based closely on the lightgrid tech in Doom 2016, described in the SIGGRAPH 2016 presentation on idTech6. We have made some different decisions to better support our needs:
- Decals only affect a single 'channel' of material data. So, if you want to change albedo, normal, and roughness, you need to place three distinct decals. The idea here is to make this a case of "pay for what you use"; however it's not entirely clear whether this is an improvement overall.
- We sort lights in the list by type, then store separate counts for total lights, localized directional lights, and area lights, which allows us to run distinct loops per-type, rather than a shared light loop branching between point, directional, and area lights. The result is far fewer divergent branches and straight-line code that's easier for the compiler to optimize.
Our shading model is pretty standard: GGX specular, with albedo, roughness, and metallic as input parameters. For diffuse, we use the GGX diffuse model proposed in “PBR Diffuse Lighting For GGX+Smith Microsurfaces“ at GDC 2017. We have also computed our own analytical fit for the split-sum BRDF table for this diffuse model. While the differences are subtle, our artists find this diffuse model preferable to Lambert because it properly responds to changes in roughness.
All light sources in the scene are preexposed by a constant value (-10EV). This allows us to better utilize the limited precision of our R11G11B10 output target while supporting a very wide dynamic range. Since all of our reflection and GI probes are rendered through the same path, the constant preexposure means the captures are already preexposed and require no further scaling at runtime.
Early Postprocessing
Certain postprocessing effects (in our case, depth of field and sun shafts) do not play well with transparency. Therefore, we split the main pass between opaque and transparent draws, and handle these effects in between.
Our depth of field is based on the approach presented in Tiago Sousa’s CryEngine 3 Graphics Gems talk at SIGGRAPH 2013. Depth of field is computed in five passes. First, we downsample the main color target to half-resolution, premultiplied by CoC (pixels with near-field CoC are discarded; we’re only interested in far-field DoF). Next, we apply a simple temporal filter to this half-resolution target. This stabilizes the image and avoids extremely visible flickering of bokeh under motion.
With the setup complete, now we apply a disk blur. Samples are weighted by the difference in CoC between the current pixel and the sample, which makes this a scatter-as-gather filter (samples are only valid if their CoC would overlap the current pixel.) Depending on an artist controlled quality setting, we use either 16 or 49 taps. This allows us to handle both the subtle blur in gameplay and the more extreme depth of field in cutscenes without significant over/undersampling.
After the first blur, we apply a postfilter pass, as in Sousa. Instead of a max filter, we use a 3x3 median filter. This denoises just as well, but does not distort the size/shape of the bokeh in the process.
Finally, we composite the depth of field back onto the main scene render target.
A final issue with depth of field is that the opaque/translucent split is insufficient to fix all artifacts. If there is a blended draw in the far-field, it will render after depth of field, reintroducing sharp edges to an otherwise blurred region. As a workaround, we allow artists to manually tag draws in the far-field to render at the end of the (increasingly inaccurately named) “opaque” pass, which results in them being blurred with the rest of the far-field. This does not handle cases where the focus plane changes (i.e, during cutscenes), but it’s been easier to solve individual cases than to teach the renderer to bucket translucent objects dynamically.
After depth of field, we render sun shafts in five passes. In the first pass we test depth and luma to build a mask of ‘sun’ luma in the skydome.

The next three passes blur the luma along a vector to the sun’s position while halving the render target resolution at each step. These three passes generate the shafts.
Finally, we composite the result back into the main scene target. The composite pass samples the blur targets with a small amount of jitter (half of a texel in the smaller target) to break up the blocky artifacts of the reduced resolution. Each layer is then tinted with an artist-specified color and alpha, and additively blended together. Finally, we apply an optional ‘starburst' mask to add some radial streak details. This mask is generated by computing polar coordinates around the sun position and using these to seed two noise functions at a different frequency, which generates interference effects and hides the repetition of the noise. We then multiply the accumulated color by this mask. The final result is additively blended into the main render target. For performance reasons, sunshafts are faded out and then disabled entirely as the player turns away from the sun.
Main Pass (Translucent)
We are now ready to render translucent objects, so we do.

Postprocessing
At this point in the frame our 3D scene is rendered. Time for some (more) postprocess!
- Distortion
- Bloom
- Tonemapping
- Antialiasing
Distortion happens in two passes; accumulate and apply. The accumulation pass renders objects tagged for distortion, which output a UV offset into a new (optionally reduced-size) render target. These draws are, for the most part, specialized VFX shaders rather than any sort of physically based refraction. The apply pass uses these offsets to skew its read of the main render target, resulting in a distorted appearance.
Our bloom implementation is from Jorge Jimenez’s “Next Generation Post Processing in Call of Duty: Advanced Warfare” at SIGGRAPH 2014. We use 5 downsample passes followed by 4 upsample passes. (The final upsample and apply happen as part of the tonemapping pass.)
Our tonemapping is based on John Hable's filmic curve from Uncharted 2, with a few adjustments. First, we expose the curve coefficients to artists to allow them to tweak the shape. Second, we make an attempt to preserve hue during mapping. Previously, we applied the curve independently to all three color channels. This works well, but can introduce some pretty severe hue shifts (i.e, bright almost-green emissive clipping to yellow or cyan). However, the independent curves naturally desaturate bright highlights, which is behavior we want to preserve.
The solution we landed on is to first compute the tonemap per-channel, then compute the relative saturation before and after tonemapping (computed as saturate((max_comp - min_comp) / max_comp)). This tells us how much desaturation is produced by the naïve tonemapper. Next, we apply the tonemap to the maximum component of the input, and use the ratio between input and output to compute the scale that brings the input color into range. Finally, we apply the previously computed desaturation amount to the input color and scale the result.
A final note: neither this improved version or the original per-channel map handle fully saturated colors well. Bright, fully saturated primaries will always tonemap to a fully saturated primary, even when clipping. To handle this case, we just cheat: if the tonemapped maximum channel is near or above our clipping point, we force a minimum amount of desaturation. This is absolutely a hack, but it works well enough.
The tonemapping pass also applies a variety of standard color grading tweaks (hue, saturation, contrast, etc.), and an optional vignette effect. We then output to one of two formats. If anti-aliasing is disabled, we output a standard RGBA8 target. However, if anti-aliasing is enabled, we output to YCoCg (swizzled to place Y in the green channel) in an RGB10A2 target. Since FXAA needs luma to compute edges, and TAA wants to compute color neighborhood bounds in YCoCg, applying this transform on output makes more sense than doing it on the fly later. (This idea was borrowed from "Decima Engine: Advances in Lighting and AA" at SIGGRAPH 2017.)
For antialiasing, we have two options: FXAA and TAA (or no AA, if you prefer jaggies over blur.) Our FXAA uses the standard FXAA 3.11 header by Timothy Lottes, modified by Morgan McGuire for G3D. There's not a lot of novelty here, except that our swizzle to place luma in the green channel means the FXAA_GREEN_AS_LUMA define does the right thing.
Viper's TAA is an combination of bits of different techniques, and probably merits a blog post of its own. Some particular bits of note: we strongly prefer history rectification over rejection; the only times we will reject a history sample is if it falls out of the screen bounds or we have detected (CPU-side) that the camera has teleported. We use variance neighborhood clipping computed in YCoCg color space, tuned to a relatively small range. In practice, this means that we have ghosting issues on surfaces with lots of small, high-contrast detail. Fortunately, these tend to be rare in Knockout City due to our stylized art style. (Several noticeable cases of ghosting do exist in the shipped game, but in general we get away with it.)
Both AA passes convert their output back to RGB prior to the last postprocessing pass: upsampling. Viper supports two types of resolution scaling: scene scaling (which actually resizes the render targets), and dynamic resolution scaling (which only adjusts the viewport). The upsampling pass resolves both of these to screen resolution simultaneously. This is a simple bilinear blit. We experimented with fancier upsampling kernels like bicubic, but the improvement in quality was not worth the additional cost. Temporal upsampling techniques are more interesting, and something we'd like to explore in the future.
UI
The final stage in our rendering pipeline is to render the 2D user interface elements directly on the upsampled render target.
For text rendering, we use a scheme like VEFontCache to dynamically generate an atlas containing all the most recently used glyphs from our TrueType fonts. We found that an 8MB cache is sufficient for Knockout City, even in our most demanding languages such as Korean.
All sprites are rendered individually (no batching yet), sorted by depth (back-to-front) and material.
Backbuffer Pass
Finally, we have one last pass that takes the final render target and blits it onto the swapchain texture. This allows us to delay acquiring the swapchain texture (and therefore V-Sync wait) as late as possible, giving us a bit more flexibility to control frame timing. This is also where we apply a final gamma adjustment. Additionally, in develop builds we can apply color matrices here to simulate various forms of colorblindness for usability testing purposes.
Conclusion
That’s it! One entire frame of Knockout City. This does not cover some of the enhancements we have made since we shipped that game – including new lighting and shadowing features that we added for the PS5 and Xbox Series versions of the game. Look for that in future blog posts!
Interested in helping us build and shape Viper Engine? Apply here!


